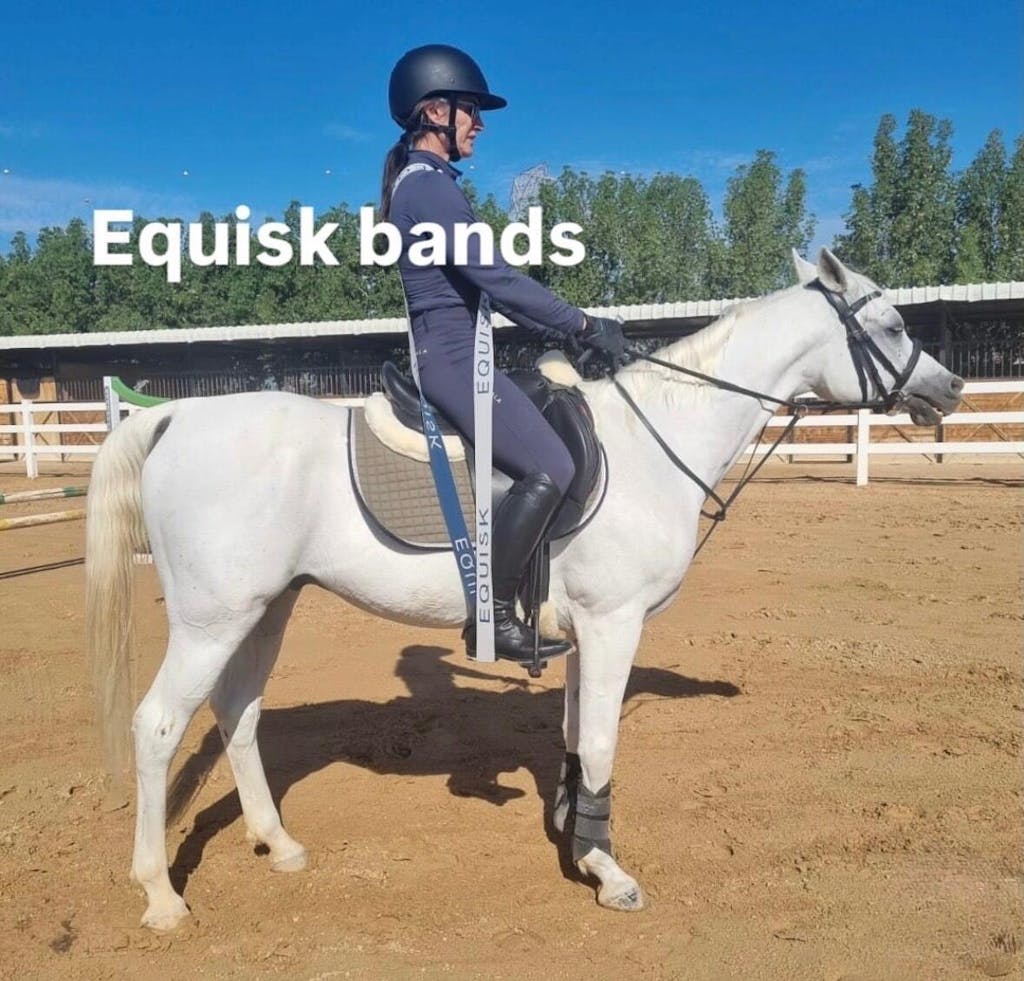
EngagedRider Resistance Bands How-To Guide


EngagedRider resistance bands are high-quality, adjustable and washable resistance bands which come as a pair and are designed to be worn while riding, from right heel to left shoulder, and from left heel to right shoulder (see below for how to put them on).

Resistance bands are being increasingly used by riding coaches and top riders as we understand how important resistance principles are in helping riders engage the correct muscle chains.

Resistance bands worn correctly immediately result in an increased awareness of your asymmetries and weaker muscle groups while wearing the bands. You may start to fatigue quickly while wearing the bands at first. We recommend only wearing them while you can maintain a good posture.

If you feel so fatigued that they start to pull your shoulders forward and you are unable to effectively counteract this, we suggest taking them off and starting again either later in the ride, or on your next ride. You will be able to wear them for longer periods as your core strength and stability develops.


Some of the main benefits of the bands are:


  • Helping riders feel differences between the right and left side of the body, at different paces and during different exercises, including advanced exercises;
  • Helping riders feel how to better stabilise their position laterally (from side to side) and longitudinally (from front to back);
  • With time, developing the strength in the deep stabilising muscle chains that makes riders’ seats more effective and makes them less reliant on their arms and legs for balance.

You can also use just one band if you have a particularly weak side, or use the band on that side of the body for a little bit longer during your ride. We recommend seeking advice from your coach prior to doing this - sometimes our brain can give us incorrect feedback and you may accidentally end up further strengthening your stronger side!

More generally, we recommend using the bands in conjunction with good coaching, and under the eye of your coach whenever possible. See some helpful exercises you may want to try are set out below.

The bands are a training tool, and are not allowed in most official competitions and warm-ups (check the rules if unsure).


Adjusting the bands

Adjust the bands off the horse before getting on. Do this by using the adjustment buckle, and then putting them on and checking the resistance level - adjust as needed until you feel the resistance level that suits you.

The bands are designed to suit riders of all sizes and levels. They fit riders from 5'/150cm to over 6'3"/190cm, and should be adjusted to account for height and fitness level.


Putting the bands on

  • While mounted, slip one of the bands over your head from the left side so it sits on your right shoulder and across the body.
  • Make sure the adjustment buckle is sitting on your chest, below the collarbone, with the loop facing down.
  • Bring the band behind your left leg and slip your heel through the bottom of the loop.
  • Repeat on the other side.

NOTE: You may need to ask someone on the ground to help you to slip the band through your heel and/or hold your horse.

Safety while using the bands

Remember that horse riding is an inherently dangerous activity due to the unpredictable nature of horses.

Wearing the resistance bands during riding can make it more difficult to regain your balance if your horse spooks, rears or bucks (although paradoxically, their stabilising effect may help you “stick” better during a small spook or buck).

To maximise your safety, we recommend wearing the band on the heel of the boot, and not the sole, to enable you to quickly disengage the bands by simply lifting your foot from your knee, while pointing your toe down slightly.

Once you disengage the bands, they will swing loosely behind you/to your sides. Bring your horse to a halt when it is safe to do so, and either remove them altogether, or only if it is safe to do so, put them back on.

We also strongly advise only wearing the bands on a well-trained horse in an enclosed arena, and not while galloping or trail riding. If your horse becomes challenging on a particular day, we suggest waiting another day to keep using the bands.


Some exercises to try...

 Basic level:

  • Ride a 20metre circle on both reins at walk, trot and canter.
  • The 20metre circle is a basic exercise which is hard to execute accurately, with good rhythm while maintaining the horse’s balance and frame.
  • While wearing the bands, notice the differences between the left rein and the right rein. Use the bands to help you stretch through the inside of your body and maintain a slight rotation (without collapsing) through your upper body to match your horse’s shoulders.


  • Ride transitions from one pace to the next, and back again. Use the bands to help maintain your straightness during the transition - this will help your horse stay straighter too, and bring their hind legs under themselves evenly to stay balanced during both upwards and downwards transitions.


Intermediate level:

  • Ride leg-yield at trot, and use the bands to help you remain straight and aligned during the leg yield. Ask your horse for more impulsion while maintaining straightness. Notice the difference between the right rein and the left rein.


  • Ride transitions within the pace, and use the bands to help maintain straightness and a feel of connection between your pelvis and your hands. This will help your horse maintain their straightness and hindlegs working through to the bridle.


Advanced level:

  • Ride through lateral movements such as shoulder-in, travers and half-pass. Use the bands to notice and correct differences between the left and right rein, to maintain stability as your rotate, and to help maintain the feeling of connection from the hindlegs to the bridle.


  • Use in transitions within the pace, including extensions, collection, piaffe, passage and pirouettes, to maintain your stability and symmetry, which helps your horse maintain their straightness, as well as connection and balance.


Care Instructions

The bands can be washed either by hand or on a gentle washing machine (no warmer than 30degrees Celsius). Hang out to dry in the shade. Do not tumble dry. Do not use softeners or bleach. Do not iron.

The bands come with a 12-month warranty. If you find that your bands become unusable during your first 12 months of owning them, please contact us to arrange for a replacement pair. 


Download the PDF Guide HERE